This will be a short guide going over installing Windows Subsystem for Linux (WSL) and how to use it in conjuction with VSCode, along with an optional setup of Windows Terminal for all your terminal emulation needs. Hope this helps!
What is WSL
WSL is a lightweight compatibility layer to run linux executables on windows, this allows you to get a linux like command line experience, but most importantly, it gives you access to all the linux libraries required for this course! Installing WSL
In accordance with this guide here, the installation is as follows:
- Run Windows Powershell as Administrator
- Enter following command
wsl --install
By default this will install the ubuntu (20.04 LTS at the time of writing) distribution of linux
- Restart your computer to ensure the changes have come into effect
A window doing the first time installation/setup for WSL should automatically open after the restart, if this does not happen, in the start menu seach for “WSL” and run the command. This setup can take multiple minutes.
- After the first time setup has completed you will be promted to create a default UNIX user account, note when you type a password it will look like you are typing nothing.
Nothing showing when typing passwords is default linux behaviour so don’t be caught off guard if you see this in other places.
If you do not want to install Windows Terminal, skip to the “Setting up WSL for this course” section.
If you do not use Windows Terminal, you can use VSCode or the Ubuntu terminal installed by default.
(Optional) Installing Windows Terminal
This section is optional as you don’t need windows terminal to use WSL however it is a good terminal emulator and is useful for any terminal application you want to run.
In accordance with this guide here, the installation is as follows:
- Open the Microsoft Store
- Search for Windows Terminal (Ensure you have Windows Terminal and not Windows Terminal Preview)
- Click “Get”
If you think you will use WSL more than powershell (which i reccomend) make WSL the default terminal as follows.
- Launch Windows Terminal
- Click the “⌄” in the top banner and select settings in the dropdown
- Under the “Startup” tab, change the “Default profile” to Ubuntu
Make sure to click save! If you are running Windows 11, you should also have the ability to make Windows Terminal the “Default terminal application”.
Setting up WSL for this course
To start, I reccomend running the below, this ensured everything is up to date and at its latest version.
sudo apt-get update && sudo apt-get upgrade -y
You might be prompted to input your password.
The -y flag just tells the command that you want to say yes to any yes or no ([y/n]) prompts that occur during the execution.
If you are new to linux, the output of this may look a little daunting but don’t worry, this is just printing out all the packages its updating.
After this, it if there was a lot of things updated its generally a good idea to run the following incase there were leftover dependencies.
sudo apt-get autoremove
Due to WSL being a lighweight installation of linux, many of the default executables that come with linux are not installed with WSL, as such, we have to install a few by ourselves by executing the following command.
sudo apt-get install -y make gcc gdb
GCC is the GNU Compiler Collection, which includes the C compiler we will use throughout this course. GDB, the GNU Debugger, is the command line debugger tool.
I hope by now you know what make and gcc are! But gdb is the GNU debugger if you didn’t get around to using it in the labs yet.
You will also need to setup git for your WSL environment if you are going to use the linux file system for your work, the easiest way is to execute the following commands.
git config --global user.name "<Your UID>"
git config --global user.email "<Your UID>@anu.edu.au"
If you’ve got this far, good job! WSL is setup for the course, if you want to use WSL with VSCode, follow along with the next section.
Setting up WSL with VSCode
VSCode can be made to work with WSL through the following:
- Launch VSCode
- Go to the extension tab and search for “WSL”
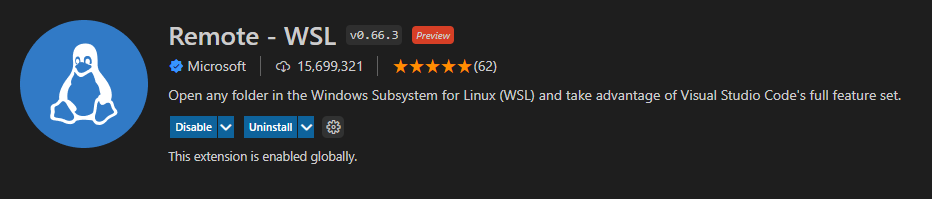
- Install the extension “Remote - WSL” from Microsoft shown below
VSCode can now work with WSL, you can access WSL from VSCode through the following ways:
With either way you choose to connect WSL, the first time you do it will install the VSCode server which will take a few minutes or so.
THIS: Click the green icon in the bottom left of the screen and in the command palette click “Open Folder in WSL…” and browse to the folder you want to open.
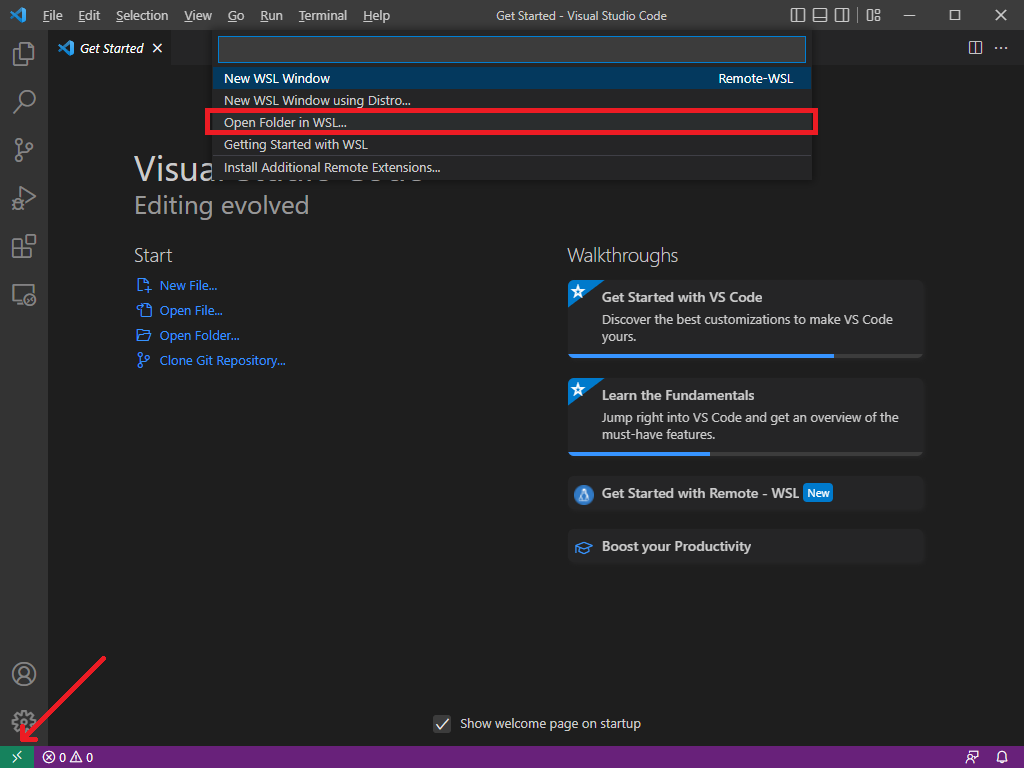
OR: Open your Terminal (either Windows Terminal or the Ubuntu executable) with the WSL bash shell running and cd to your working directory. Then run the following command to launch VSCode at your current directory.
code .
If you are working within the Windows file system, the windows file system is accessible through /mnt/c/ where /mnt/c/ acts as “C:" in a windows directory as shown in the picture below.
Done!
Well done, you have setup everything you need to for working with WSL and VSCode for this semester! Please read the notes for some useful information if you want!
Additional notes
- Access between file systems is quite slow due to the protocol used for WSL 2, as such, I recommend you place all your work in the linux file system as this allows you to have native speeds for file access. This is especially usefull if you are working on a large project as build times will go much higher than they already are.
- One thing you may come across when using WSL in VSCode is that there might be limits on the user writing files in a specific folder. The command
sudo chown -R [username] [/folderPath]makes a particular root folder accessible to the user.
Credit to Lochlan Graf for writing the original edition of this guide, 2022 (with Junming Zhao contributing some additional notes).