These instructions have been tested on Ubuntu 22.04 LTS and Linux Mint 21.1. You may need to modify them as appropriate for your Linux distribution.
Anti-virus software may interfere with the installation process. If you run into errors during the install, you can try temporarily disabling your anti-virus software.
If you experience problems during the installation process, you can go to a drop-in consultation session or ask for help on Ed.
Uninstall instructions (only if you have previously installed Haskell)
Note that there are many ways to install GHC, and therefore it is impossible for these uninstall instructions to work on all possible ways that GHC may have been installed. If you are having trouble removing a previous Haskell installation from your computer, please ask a tutor to help you uninstall Haskell from your machine before proceeding with the installation.
- Open a Terminal.
- Run
sudo apt remove --purge haskell* ghc* cabal*. - Run
ghcup nuke. - Run
rm -rf ~/.ghcup ~/.ghc ~/.cabal.
Installing Haskell
- Open a Terminal
-
Run the following command to install dependencies.
sudo apt install -y build-essential curl libffi-dev libgmp-dev libncurses-dev libtinfo-dev zlib1g-dev git -
Run the
ghcupinstaller by running the following commandcurl --proto '=https' --tlsv1.2 -sSf https://get-ghcup.haskell.org | BOOTSTRAP_HASKELL_GHC_VERSION=9.2.5 sh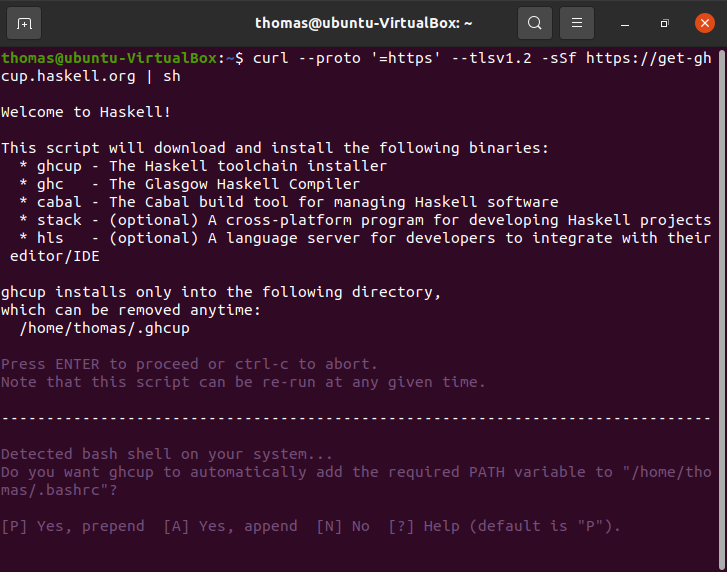
You will need to press enter a couple times when prompted.
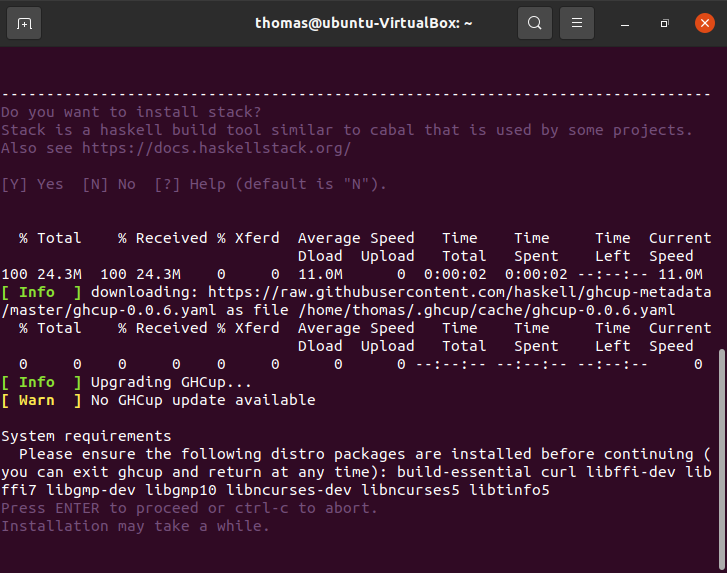
The installation will then commence. This may take several minutes.
-
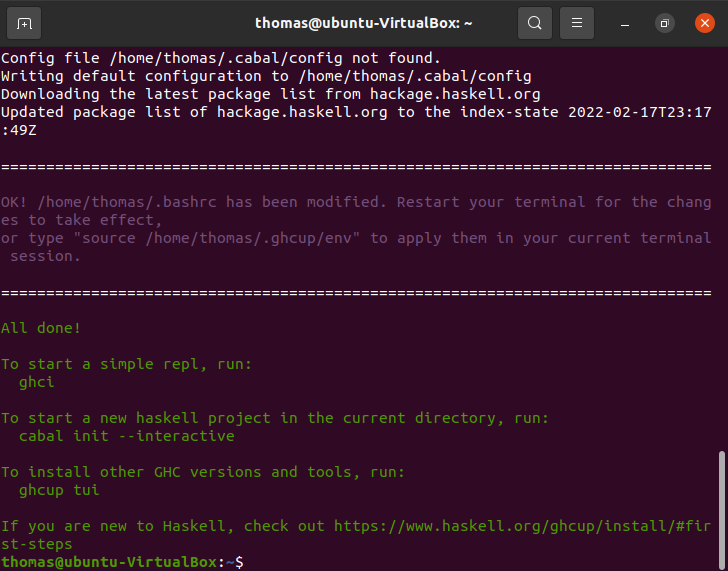
Wait until you see the following message.
-
Close the current terminal and open a new terminal.
-
Check the GHC installation by running
ghc --versionand then checking that it saysThe Glorious Glasgow Haskell Compilation System, version 9.2.5.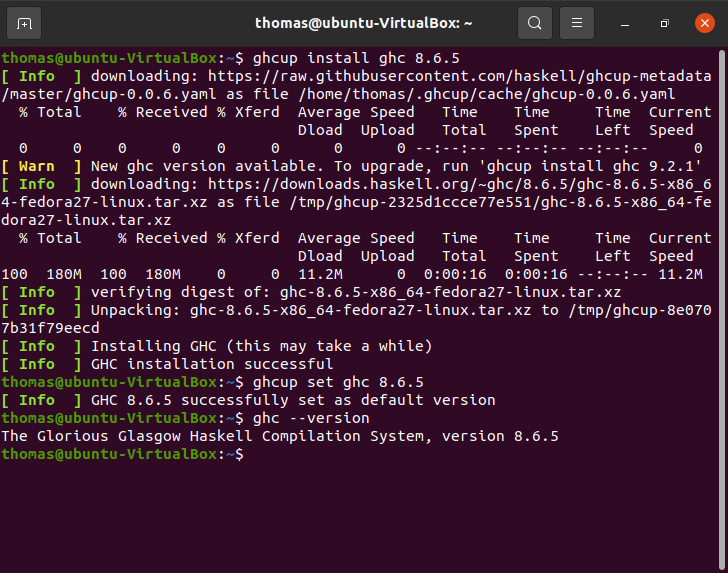
-
Let’s install the Haskell libraries we need for this course. Run the following command.
cabal install --lib codeworld-api-0.8.1 && cabal install doctestWait for the command to finish. This may take several minutes.
Congratulations! Your Haskell installation should now be ready to go.
VSCode Setup
If you haven’t installed VSCode, you can download it from https://code.visualstudio.com
After installing VSCode…
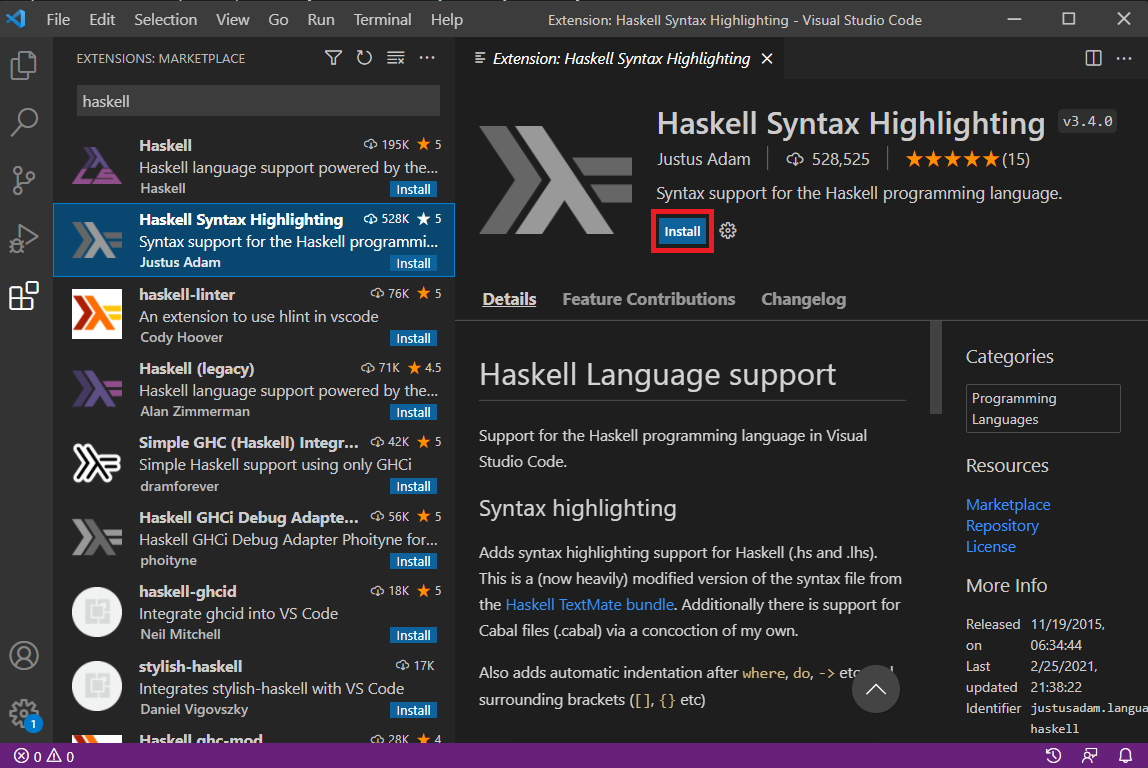
- Launch VSCode.
- Select “File > Preferences > Extensions”,
search for
haskelland install the “Haskell Syntax Highlighting” extension by clicking theInstallbutton.
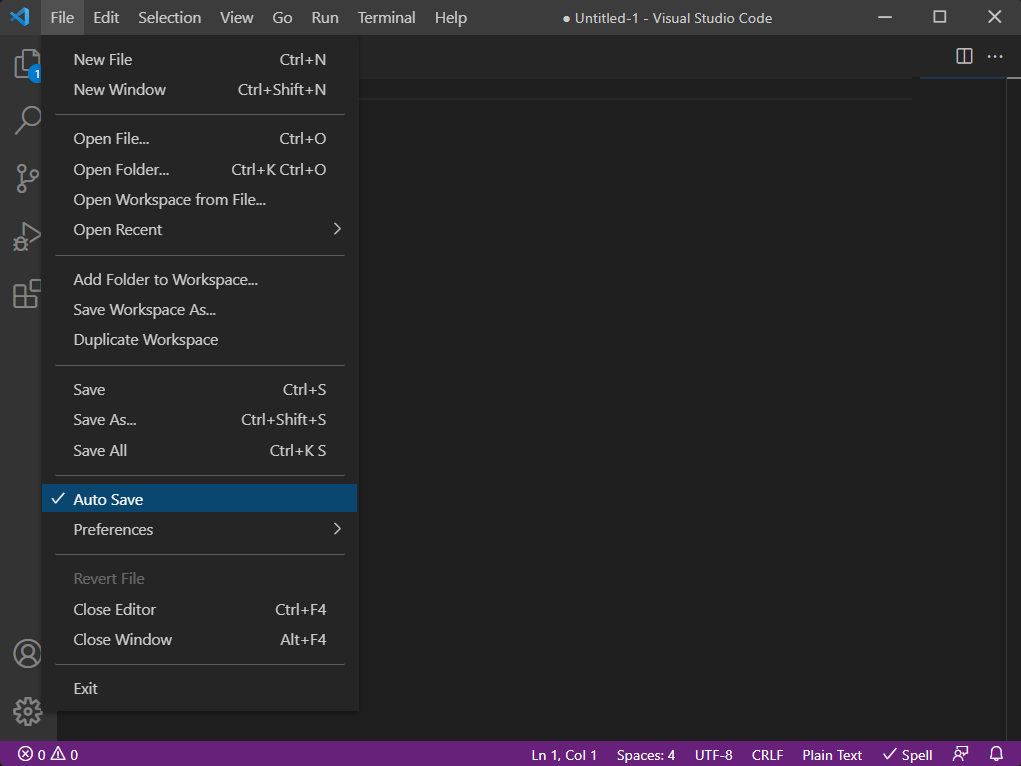
- Enable the “Auto Save” feature by clicking “File > Auto Save”.