Before you attend your lab session, make sure:
- you can fork, pull & push to GitLab
- you’ve watched the week 3 lecture on iteration
Task 0:
Now that you’ve completed the first assignment, it’s a good time to think about how your understanding of art and code has developed in the first part of this course.
Think about your submission for assignment 1. Show your neighbour (if you’re comfortable doing that). Explain which parts you were happy with. Are there any aspects do you think you could improve? Was there anything about your assignment where you could apply the
arrayandfunctionstructures that we discussed in the week 4 lectures?
Introduction
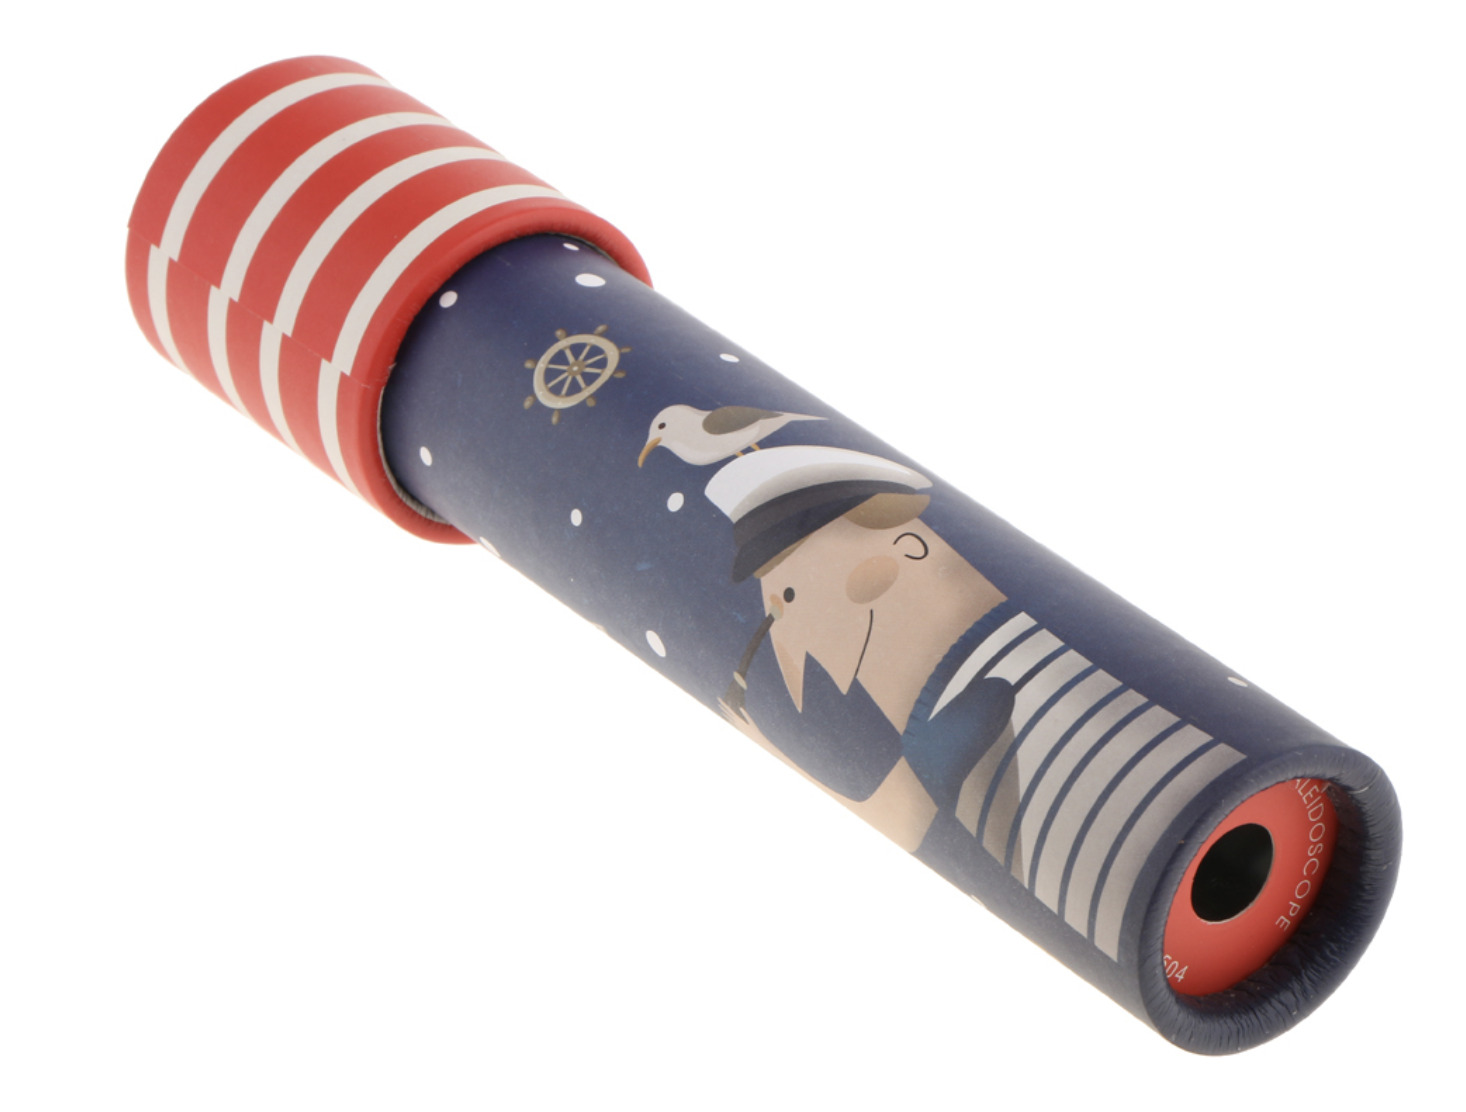
When you were a kid you might have had a kaleidoscope toy which looked something like this:
and when you looked through the tube you saw something like this:
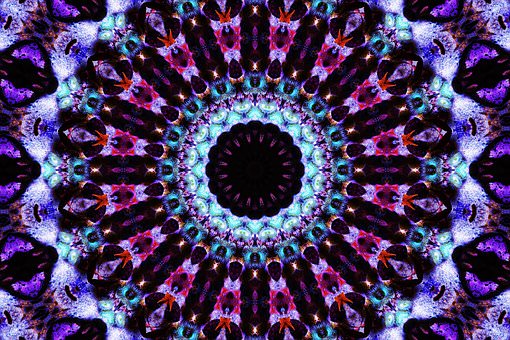
Kaleidoscopes work by using mirrors to create multiple reflections of a simple pattern, which can produce beautiful geometric patterns like the picture above.
By the end of today’s lab you’ll be able to use p5’s built-in transformation functions to do the same sort of thing. But first, you’ll do a couple of exercises to help you get your head around exactly what it means to transform the grid in p5.
In this week’s lab you will:
- learn about transforms: translate, rotate & scale
- write your own functions to package up “drawing” units
- build a kaleidoscope
If you’re proud of your monster, you should go and share it on the course forum assignment 1 thread and check out what everybody else did!
Task 1: scale, rotate and translate
Before we can start work on our kaleidoscope, we need to learn about three new
p5.js functions: scale(), rotate(), and translate(). In the business, we
call these “transform” functions—cause they transform the grid you draw on
(maybe you can see how this could be helpful for a kaleidoscope?).
Below you’ll find a widget containing some p5.js code that is half finished. Your job is to drag the lines of code from the left-hand-side to the right-hand-side to try and achieve the following goals:
- Can you move the square to the left? Or the right? (requires 1 line of code)
- Can you move the square to the center of the canvas? (requires 1 line of code)
- Can you rotate the square in the center of the screen? (requires 2 lines of code, one of which you just wrote!)
- Can you make the square bigger, or smaller? (requires 1 line of code)
- Can you flip the square, so it is mirrored? (a few different options here)
If you get stuck, ask your tutor for help—or give the reference a read (otherwise, maybe you can figure it out by just trying random options!). Here’s links to the references for:
Beware, for the rotate() function p5 talks about angles in
radians (where 360 degrees equals two
pi radians). Also, it’s important to remember that rotation happens around the
x=0, y=0 point (the origin), not the centre of the canvas.
Play around with the different code blocks and arguments to try and build an intuition about what they do to the canvas.
Did you discover anything cool? Show your discovery to your neighbour, and how to re-create it.
Task 2: a draw functions
Now we’re going back to VSCode. Clone your fork of the lab
repository repo if you haven’t already, open it in VSCode,
navigate to the week-05 folder and start the live server as usual.
Write some code in your draw() loop that draws a simple shape using the
primitive p5.js functions you’ve learnt so far (rect, ellipse, line,
etc.). Examples might be a house, a flower, a cross — be creative, but don’t
spend too much time on it (simple is good!).
Now we’re going to write a function to draw this shape. Package up the “shape
drawing” code you just wrote into a function which takes x and y
parameters, and then draws the thing at that location. It’ll look something
like this:
function drawShape(x, y){
  // draw all the things using the x and y parameters
}
Call your new function multiple times in your draw loop, with different co-ordinates. Once you’ve got the hang of drawing the exact same shape in different places, can you add an additional parameter to the function so that you can draw the shape with a different size each time? How about passing in some sort of colour parameter?
At the end of this part, your sketch should draw a bunch of similar shapes to the canvas. You want your sketch to have good coverage of the canvas, but also to leave some blank space (i.e. you don’t want to paint the whole canvas with your shapes). The reasons for this will become clear in the next section.
Exchange the code for your shape function with your neighbour. This is very important (read on to find out why)!
Why would you want to package your drawing code into a function. What’s the main benefit? What are the downsides? If you’re struggling to think of anything, ask your tutor—maybe they can point you in the right direction.
Task 3: kaleidoscope
Find a partner in your lab. If no one around is currently looking then let one of your tutors know and they will find a partner / group for you.
Now, the moment you’ve been waiting for—you finally get to make a kaleidoscope, and we’ll be using you and your partners shape functions from the previous exercise to do it! Don’t be scared, this is actually kind of straightforward if you’ve got the hang of the previous parts of this lab.
The main difference between a kaleidoscope and Part 2, is that you want to iterate the process many times (to simulate the multiple reflections which happen inside the kaleidoscope). To that end, we need to modify our draw loop so it looks like the following:
// put this in your draw loop
translate(windowWidth/2, windowHeight/2);
var numRotations = 10;
for(var i = 0; i < numRotations; i++) {
  rotate(TWO_PI/numRotations);
  // put your cool shape drawing code in here
}
If you haven’t already, you should copy your own and your partners shape
functions from the previous exercise into your sketch.js file and call both
of them inside the for loop, after the rotate function.
This code uses the “translate by width/2, height/2 then rotate” trick to
make the canvas rotate around the centre point. Why does this work?
Now, do one of the following things:
- Add some sort of dynamic behaviour to your shape drawing code (i.e. use
mouseXorframeCountsomewhere) - Add another persons shape to your code
- Add in another loop, but this time rotating in the opposite direction
- Do something entirely different — be creative!
When you get a kaleidoscope sketch that you’re happy with save your code into week-05/sketch.js in your lab repo and push it
to your fork on the GitLab server. Check the CI jobs for a tick to see that your repo is working.
Have a think (and play around!) to find out what shapes work best as a building block for this kaleidoscope process? What makes them work so well?
Extra Task: break it down!
Here’s some kaleidoscope code which looks much more like the traditional kids toy tube thing we talked about in the introduction.
Copy and paste the code below into a file in VSCode (either sketch.js or a new file) — try and make it your own, be creative!
This sketch uses the p5 push() and
pop() functions (which “save” and
“restore” the current transformation) but these are different from the Array
push()
and
pop()
that we talked about in the week 4 lecture. It’s a bit annoying but names like push and pop are sometimes re-used in different ways across programming languages.
Even though it looks complicated, this is a relatively simple extension to the stuff you did in this lab, the only addition is that it uses an image mask to draw only one “pizza slice” shaped part of the canvas, but to re-draw it many times in a radial pattern (just like a real kaleidoscope). There’s a bit of stuff in there that we haven’t covered in lectures yet (mostly the image masking stuff) so don’t worry if you don’t understand all of it just yet. Still, it’s quite pretty—so definitely have a play with it and break it down if you get the chance.